How To Install Floating Shelves
One of the most frequent questions we get is 'Will I need a handyman to install my custom shelves?' Our response always is that if you know how to use a drill, a stud finder, and a level, you can install these yourself. Just remember to use the stud finder on yourself, first. Just need to make sure it's working, ya know? As long as you can install these on AT LEAST one wall stud, install will be a breeze!
Before drilling into any wall, please don't forget to check to see if you have any electrical wires or plumbing running behind the drywall.
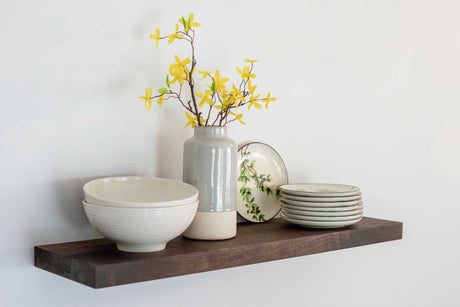
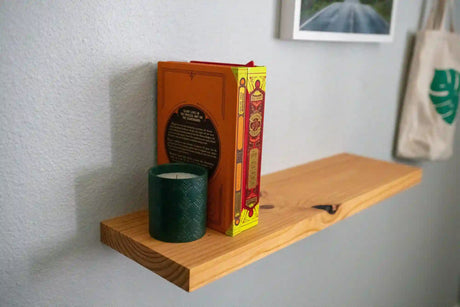
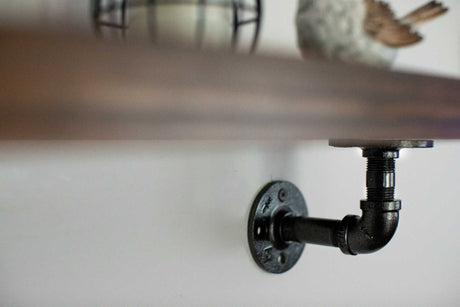
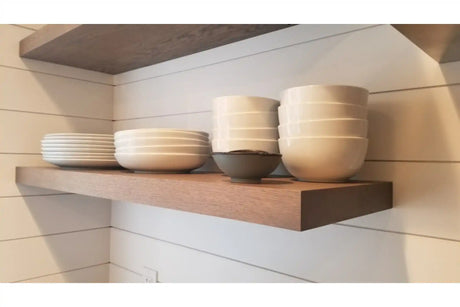
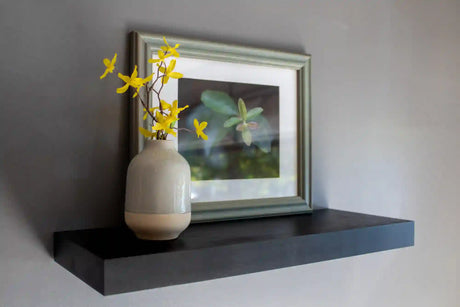
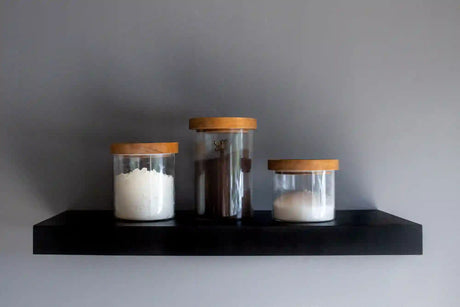
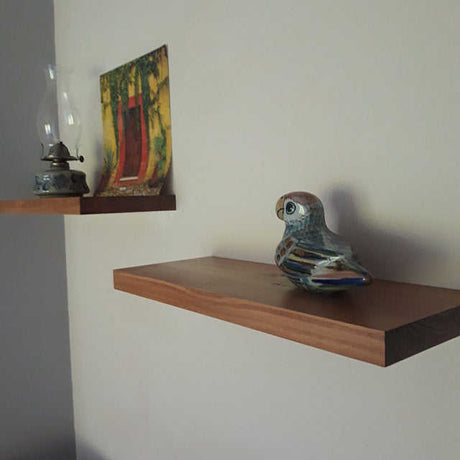
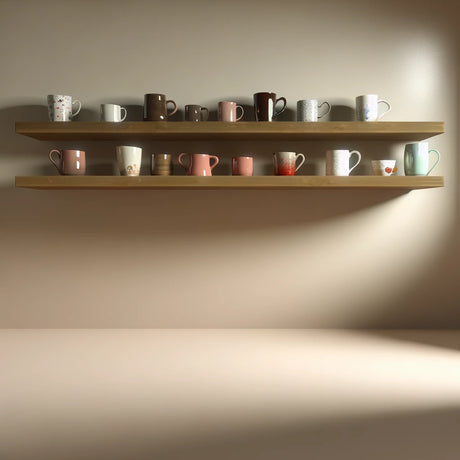
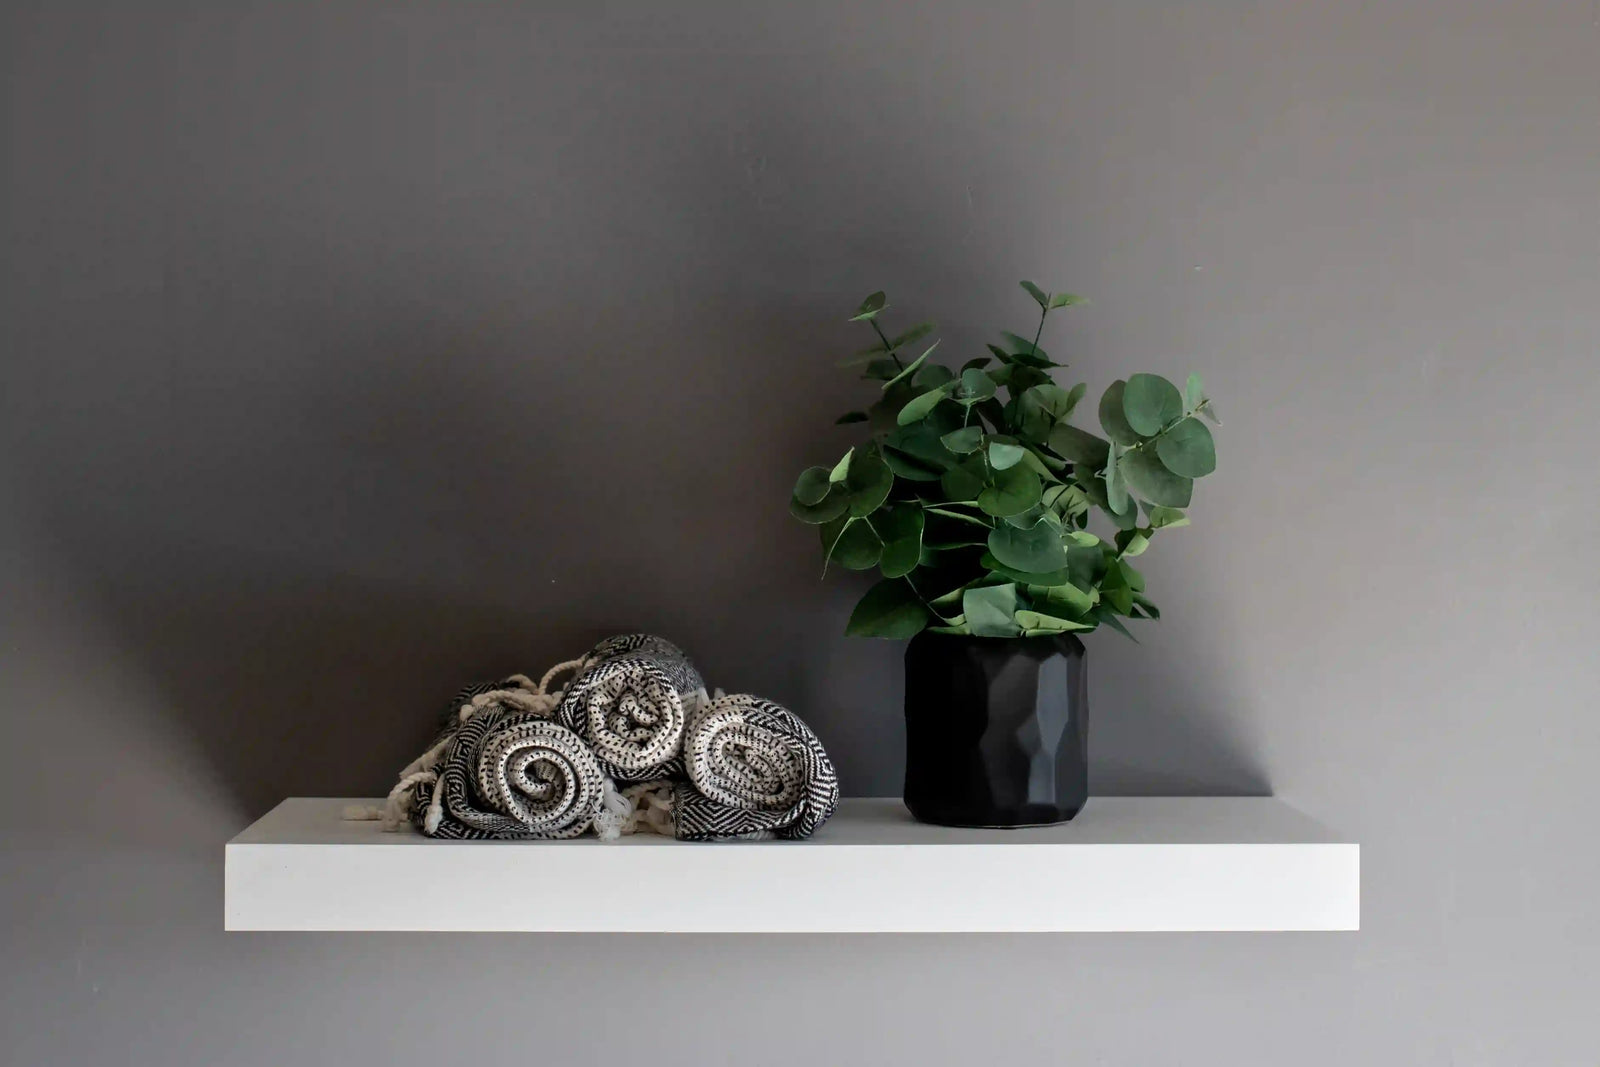
Hardwood Floating Shelves With Hovr Bracket
Installing a shelf can seem daunting, but with these simple steps, it's a breeze! Start by removing the blue painters tape from the back of the shelf and the male Hovr bracket. Then, using the bracket as a guide, determine where you would like the shelf to be located. Mark the top and sides of the bracket with a pencil on the wall to establish your pre-determined shelf location.
"Installing a shelf can seem daunting, but with these simple steps, it's a breeze!"
Next, locate the studs along the pre-determined shelf location by using a stud finder and marking them with your pencil. Put the male bracket back on the wall and transfer the stud marks to it. Drill two holes in each pre-marked stud location using the included 3/16” drill bit, making sure they are vertically aligned and centered on the provided top and bottom guidelines. Then, attach the male bracket to the wall using the included #8 2 ½” long panhead screws and the included #2 square drive bit.
Once the male bracket is securely attached, tilt your shelf downward at a 15° angle to engage the two brackets together. Hook the upper part of the female bracket onto the upper part of the male bracket and pull the shelf down into place. If the brackets are not fully engaged, apply 2-3 solid taps at the back of the shelf to get them to snap into place. Finally, insert the set screws into the pre-drilled holes on the shelf’s underside and secure them with an allen wrench.
It's important to make sure that the male bracket is flush against the wall. If you bend it, it will not engage correctly with the female bracket. Not all walls are straight, so it's okay to have up to 1/4 of an inch space between the back of the male bracket and the wall without compromising its integrity or holding capacity. With these easy steps, you'll have a sturdy, level shelf in no time!
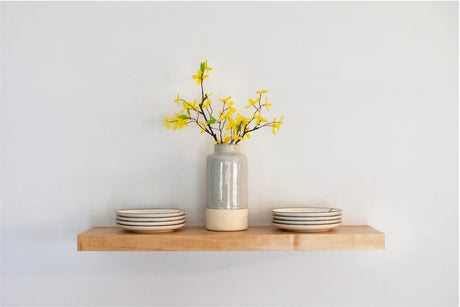
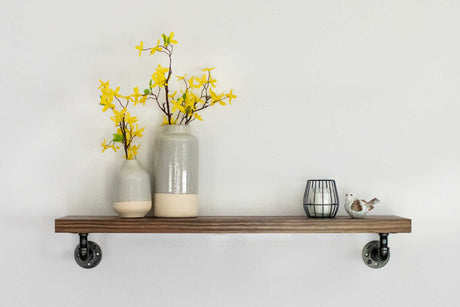
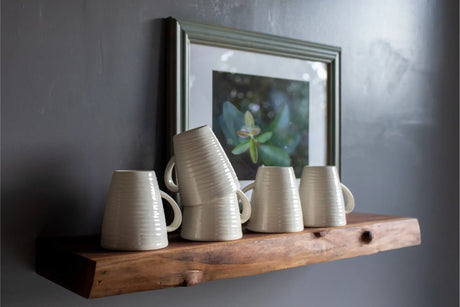
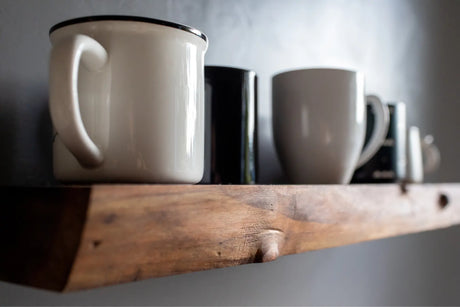
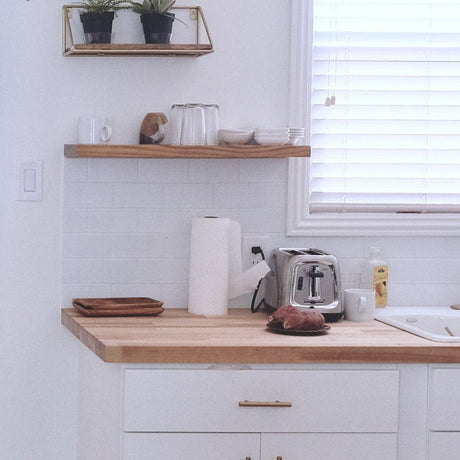
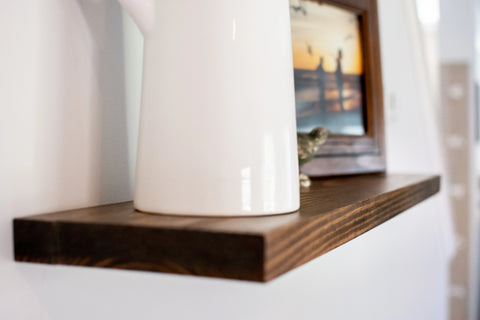
Pine Floating Shelves
Installing our pine floating shelves is as easy as drilling a screw through wood. We supply all of the mounting hardware, and even the necessary drill bit, making things as streamlined as possible.
The first step is to remove your shelf bracket from the shelf. The back 1.5" of the shelf consists of the bracket that you'll attach to the wall. You'll see the white oak wooden dowel rods attached to the bracket. These extremely strong dowel rods provide support for the pine shelf to rest on.
Next, place the floating shelf bracket to the wall to determine your final shelf position and mark the edge of the bracket with a pencil. Once you've marked your shelf location, remove the bracket and set aside. We are going to call this your pre-determined shelf location. Use your stud finder to scan along the length of the pre-determined shelf location to find your studs and mark with a pencil.
Hold the shelf bracket back up to your pre-determined shelf location and transfer the stud locations you marked on the wall to your shelf bracket. This may sound like a lot, but we're getting there, we swear!
Take the bracket back down and place on a work bench or table. For the next steps, you'll need the provided T20 drill bit and the 3" construction screws. Install the provided T20 drill bit into your power drill, and drill the 3" construction screws into the bracket at the stud locations you marked. These screws are 'self-tapping' screws and should screw through the wood bracket easily, with no pilot hole needed. Do not drill the screws all the way through the bracket. You're just getting them started to make the shelf installation easier.
"Installing floating shelves is a DIY project that can be accomplished with a few basic tools and our simple instructions."
Place the bracket back up on the wall at your previously determined shelf location. Then, proceed to screw one wood screw all the way through the bracket and into the studs. Place your level on the bracket and pivot the bracket until it's level, and then drive the second screw through. Your bracket is now installed!
The final 3 steps are to slide the shelf onto the bracket, install the small 1" set screws through the bottom of the shelf, and finally, start displaying what brings you joy!
In Conclusion
Installing floating shelves is a DIY project that can be accomplished with a few basic tools and our simple instructions. Whether you're installing hardwood or pine floating shelves, our guide makes it easy and stress-free. Remember to check for electrical wires or plumbing before drilling, and use a stud finder to ensure your shelves are securely installed. With a little patience and effort, you'll have a beautiful and functional new addition to your home. Happy shelving!"